
How to organize tools on a pegboard, step by step
Updated:
Before you hang anything: what you have and what you use
A pegboard keeps the tools you use often in sight and within reach; it is not storage for everything in the workshop. A pegboard is a board with holes on a grid where hooks and holders clip in and can be moved without drilling the wall again.
Before buying anything, take this inventory:
- Empty the box, drawer or shelf where your tools live today.
- Sort them into three piles: what you use every week, what you use once a month and what you use less than that.
- Only the first pile goes on the board. The second goes in a nearby drawer or box. The third goes in a labelled box on a high shelf.
- Measure the free wall space and write down the available width and height.
- Count how many tools in the first pile need to hang and how many are small parts (bits, drill bits, screws) that need a container.
With that list you know what size of board you need and which holders to look for, instead of buying an 80-piece kit and finding out half of it is useless.
What kind of pegboard you have
Hooks from one system rarely work in another, so the first step is knowing what holes your board has. There are three common families:
| System | Hole | Centre-to-centre spacing | Hooks it takes |
|---|---|---|---|
| Round-hole hardboard or metal | Round hole of 1/8 or 1/4 inch (about 3 or 6 mm) | 1 inch (25.4 mm) | Bent-wire hooks matching the hole diameter |
| Oval slot on a staggered grid | Vertical slot of about 5 × 15 mm | 20 mm, each row offset by half a position | Flat hooks and holders that go through the slot and lock behind it |
| Metal board with rectangular slots | Square or rectangular slot, depending on the brand | Varies by manufacturer | Only that brand's accessories or the ones it lists as compatible |
The round-hole sizes and the one-inch pitch are the North American standard described by EngineerFix. The 5 × 15 mm slot with a 20 mm pitch is the one used by our 20 × 20 cm pegboard panel and all its accessories.
To avoid a wrong purchase:
- Measure the width and height of one hole with calipers or a steel rule.
- Measure the distance between the centres of two neighbouring holes, horizontally and vertically.
- So the error does not add up, measure centre to centre across ten holes and divide by ten.
- Check whether the rows line up or are offset: on a staggered grid, each row is shifted half a position from the one above.
A hook that fits "more or less" is the one that falls when you take the tool off. If the hole or the pitch does not match what the accessory specifies, do not buy it.
What goes at each height of the board
Heavy items and what you use every day go in the middle band, between the height of your knuckles with your arms down and the height of your shoulders. That is the zone the Instituto de Biomecánica de Valencia names as the best for storing and handling objects; light and occasional items go above or below.
| Band | What goes there | Examples |
|---|---|---|
| Above shoulder height | Light and occasionally used | Spare gloves, packing tape, templates, spare saw blades |
| Between knuckles and shoulders | Heavy and used every day | Hammer, pliers, screwdrivers, bits, tape measure, lubricant spray |
| Below knuckle height | Light and bulky, or rarely used | Coiled extension cords, thin hoses, boxes of spare parts |
The storage guide from the Community of Madrid says the same from the safety side: avoid storing heavy, bulky or hard-to-grip material above the shoulder, and keep the middle heights for what you use most often.
In practice, that decides where to mount the board. If you have a single small panel, place it so it sits entirely in the middle band, above the workbench. If you cover a whole wall, the middle band is the most valuable part: do not fill it with things you pick up twice a year.
Group by task, not by tool type
A board works best when each zone serves a job, not a family of tools. If you are replacing a socket, you want the insulated screwdriver, the voltage tester, the wire stripper and the electrical tape together, not the screwdrivers at one end and the tape at the other.
Some zones that work in almost any workshop:
- Measuring and marking: tape measure, square, level, pencils and marker.
- Electrical: insulated screwdrivers, voltage tester, wire stripper, electrical tape.
- Fastening: pliers, open-end or adjustable wrenches, Allen key.
- Drilling: bits, drill bits and adapters, next to where you put the drill down.
- Lubricating and cleaning: lubricant spray, rag, brush.
Within each zone, what you use most goes in the centre at hand height. Leave free space between zones and around each one: whatever you buy next year needs a place, and a board filled to the edge gets messy again within weeks.
Try the layout before fixing anything. Lay the board on the floor, arrange the tools on it and take a photo. Moving a hook on the floor takes seconds.
Which hook or holder to use for each tool
Each tool needs a holder that suits its shape: anything with a handle or a hole hangs, anything small and cylindrical stands upright in a socket. This is the match we use in our 5 × 15 mm slot system:
| Tool | Holder | Why |
|---|---|---|
| Pliers, scissors, wrenches, tape measure | Short hook with 40 mm reach | Enough for a handle, and the upturned tip stops it sliding off |
| Extension cords, hoses, coils of wire or cable | Long hook with 80 mm reach | A full coil of cable fits without slipping off |
| 1/4-inch hex bits | Organizer with six 7.8 mm sockets | The bits stand upright and you see them all |
| Drill bits, rotary tool accessories, thin screwdrivers | Organizer with four 12 mm sockets | Wider holes for shanks and slim handles |
| WD-40-type lubricant spray, 300 ml | Holder for cans up to 53 mm in diameter | The can drops in from above and stays off the bench |
| Work gloves | Two-slot glove holder | The cuff is gripped and the fingers hang down |
To get started without much thought, the kits already cover the most common zones:
- 40 mm hooks, pack of 6 or of 12, and the long 80 mm hooks, also in packs of 6 or 12.
- The 6-bit organizer and the 4-accessory organizer, which join side by side to form a row.
- The spray can holder and the glove holder.
- The complete 17-piece kit, with the can holder, four organizers and twelve hooks in both sizes.
Each hook takes two slots in the same column and has a spring latch: it does not lift when you take the tool off, and to remove it you press a tab.
Hooks, organizers and a panel to build your wall
PETG parts printed in Montevideo for boards with 5 × 15 mm slots on a staggered 20 mm grid. They combine with each other and with the 20 × 20 cm panel.
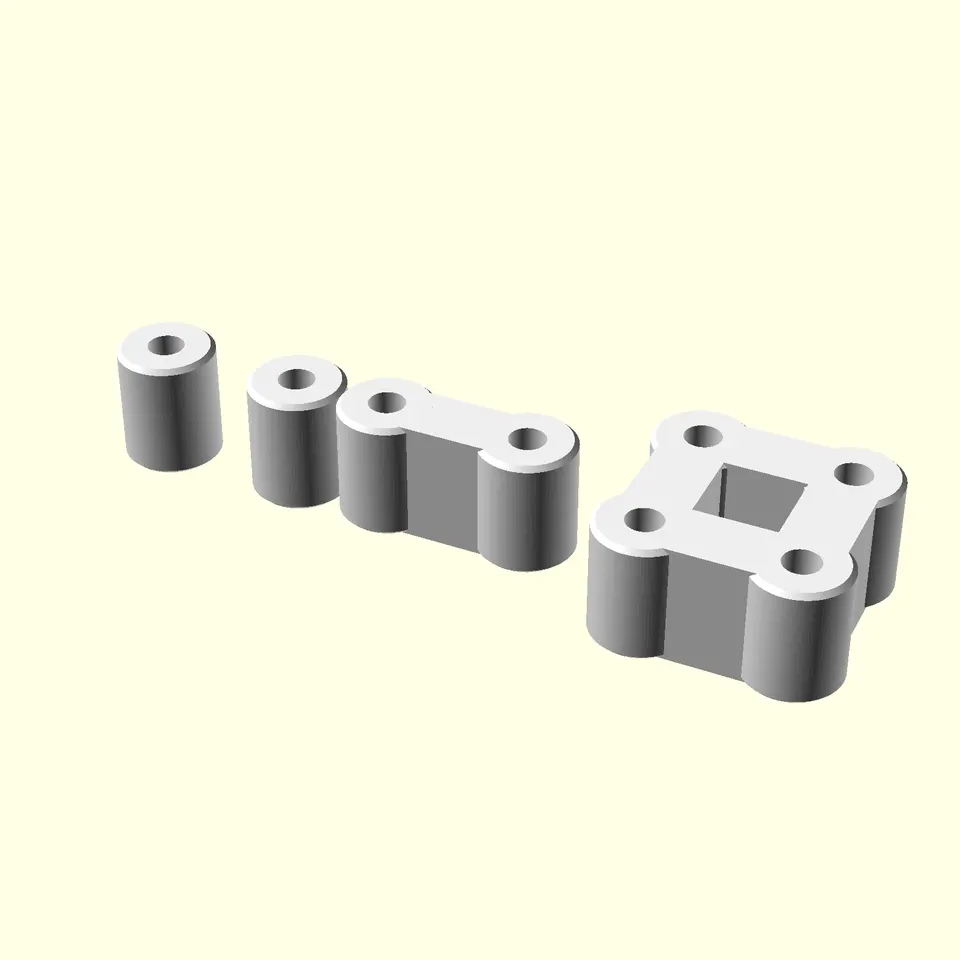
20 × 20 cm Tool Pegboard Panel Kit
20 × 20 cm tool pegboard panel with 5 × 15 mm slots on a 20 mm grid and four 15 mm spacers for adding panels later. PETG, made in Uruguay.
$1 200View product →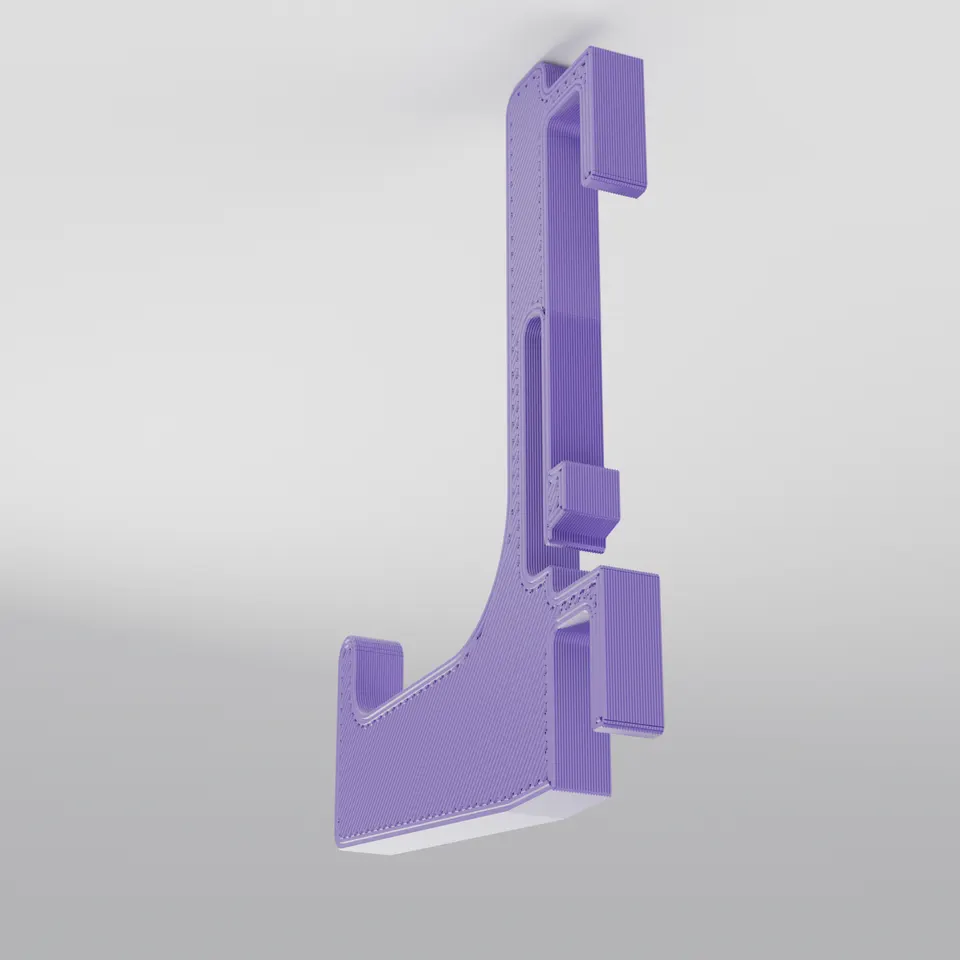
Pegboard hooks
Pack of 6 pegboard hooks with 40 mm reach and a spring latch, for panels with 5 x 15 mm slots. Up to 3 kg each. 3D-printed in PETG in Uruguay.
from $330View product →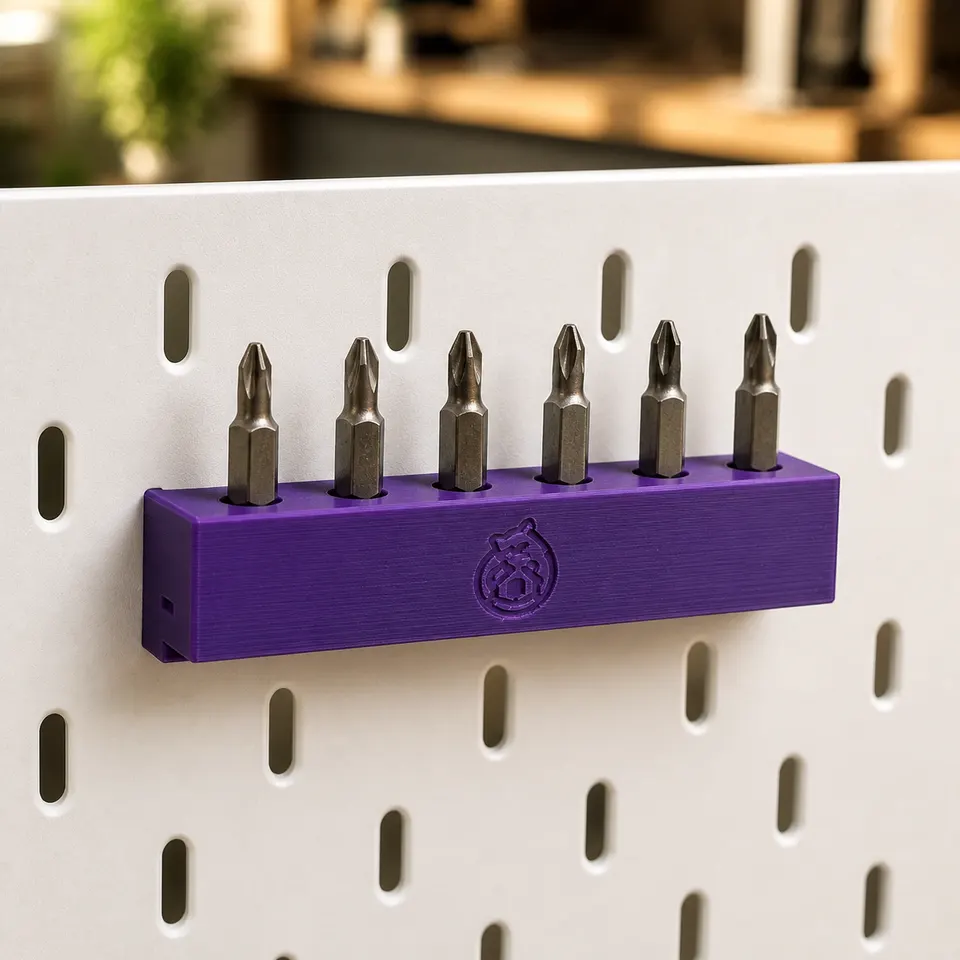
Pegboard organizers
Modular pegboard organizer for six 1/4" hex bits, made for panels with 5 x 15 mm slots. 3D-printed in PETG in Montevideo, Uruguay.
from $590View product →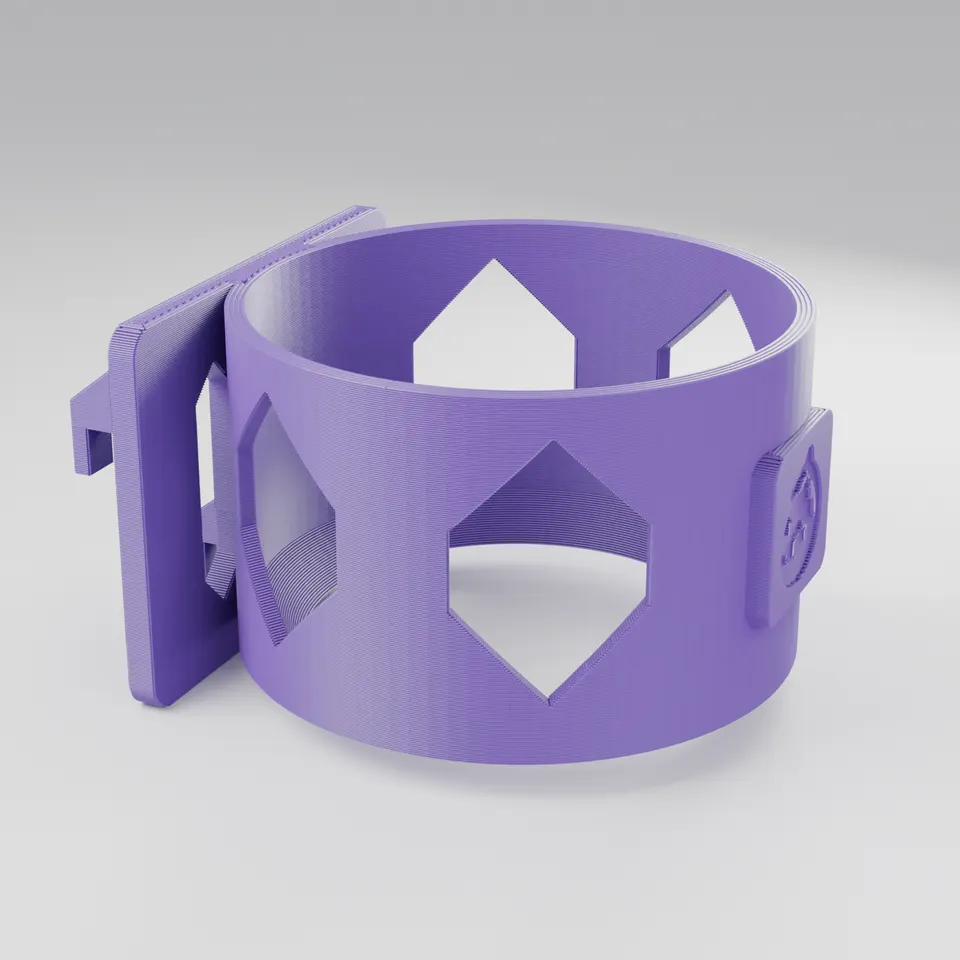
WD-40 spray can holder for pegboard
Pegboard holder for 300 ml WD-40 and other spray cans up to 53 mm wide. Keeps the lubricant off your workbench. PETG, made in Montevideo.
$330View product →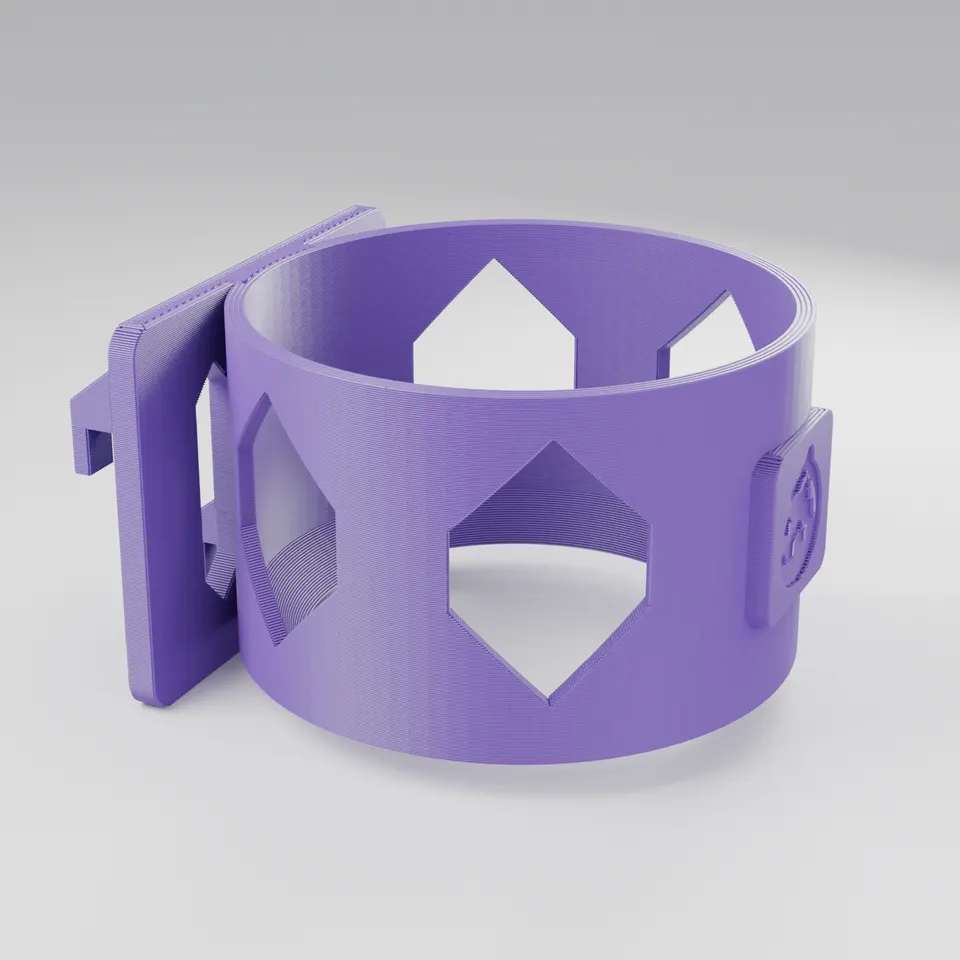
Pegboard kit
Pegboard starter kit: holder for spray cans up to 53 mm, a 6-slot organizer for 1/4" bits and a 4-slot accessory organizer. PETG, Uruguay.
from $980View product →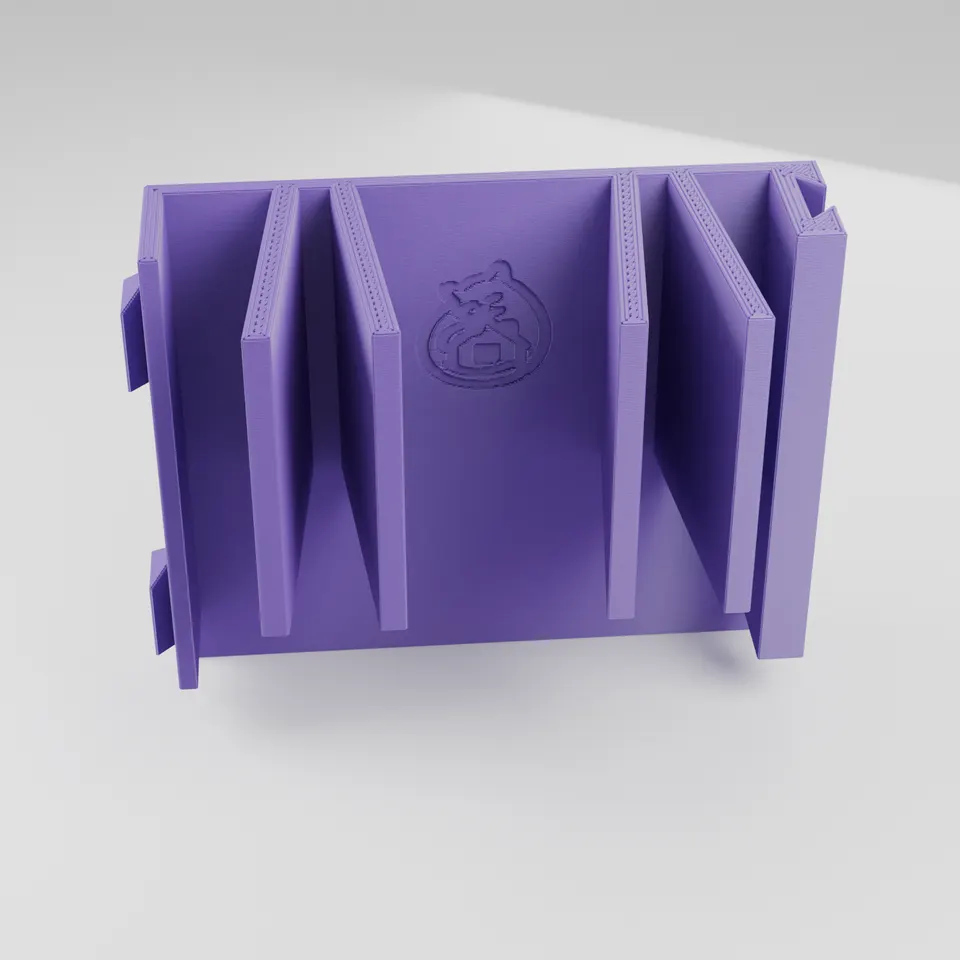
Pegboard holder for a pair of work gloves
Modular pegboard holder for a pair of work gloves. Two tapered cuff slots for panels with 5 x 15 mm openings. 3D-printed in PETG in Montevideo.
$590View product →
How much weight a pegboard holds
The weight a board holds depends on its weakest link: the hook, the board or the wall fixing. Our hooks are rated for up to 3 kg each; that figure means nothing if the wall plugs hold less.
- The hook: respect the load the manufacturer gives for each one and spread the weight over several hooks if the tool is long.
- The board: it needs a gap from the wall so the hooks can go behind it. Our panel comes with 15 mm spacers and is fixed with M4 screws through four 5 mm holes.
- The wall: the plug has to suit your wall. Concrete, hollow brick and plasterboard are not the same, and plasterboard needs a plug made for that material.
Heavy power tools, such as an angle grinder or a drill with the battery fitted, are better on a shelf or a dedicated holder, always in the middle band. A light plastic board is no place for a jigsaw hanging from a single hook.
The shadow board: see at a glance what is missing
A shadow board is a board where each tool has its outline drawn, so the empty spot shows what is missing and where it belongs. According to Wikipedia, the technique comes from factories, where it shows at a glance which tools are in use or missing at each workstation.
To make one at home:
- Fix the hooks and holders in their final position.
- Hang each tool and trace its outline with a thick marker, or spray paint over it using the tool as a stencil.
- If you share the workshop, write the name next to each outline.
A home-sized board does not need to go that far: it is enough to outline what goes missing most often, like the tape measure, the voltage tester or the Allen key that always ends up in another room.
Common mistakes when setting up a tool pegboard
Most boards that get messy again fail for the same reasons:
- Buying hooks without measuring the board's hole and pitch.
- Hanging everything in the workshop instead of what you use every week.
- Putting heavy items at the top, where you have to lift them down with your arms stretched.
- Mounting the board flat against the wall, without spacers, so the hooks cannot go through.
- Using hooks without a latch, which come off with the tool every time you take it down.
- Filling the board to the edge and leaving no room for what you add later.
- Leaving the tools that do not go on the board in a closed box somewhere damp: that is where rust starts. A corner container with silica gel inside the box helps keep it dry.
If a tool does not fit any holder
If you have a tool with an awkward shape, such as a laser level, a soldering iron with its stand or a glue gun, the holder can be designed to measure. The quickest way is to send us a photo with a ruler next to it and your board's measurements from the contact page.
We design and 3D print one-off parts: the custom 3D printing page explains how to request a quote with your file or a photo of the part.
Frequently asked questions
At what height should a tool pegboard go?
Ideally the middle of the board sits between the height of your knuckles with your arms down and the height of your shoulders. Heavy items and what you use daily go in that band; light and occasional items go above or below. If the board is above a workbench, leave room underneath to put tools down.
How much weight does a pegboard hook hold?
It depends on the hook, the board and the wall plugs. Our PETG hooks are rated for up to 3 kg each. For long or heavy tools, spread the weight over two hooks and check that the wall fixing suits that material.
Do hooks from one pegboard fit another?
Only if the hole shape and the centre-to-centre spacing match. Wire hooks for round holes with a one-inch pitch do not fit a board with oval slots on a 20 mm pitch, and vice versa. Measure the hole and the pitch before buying.
How far from the wall should the board be?
Far enough for the back catch of the hooks to go through the hole and lock behind it. Our panel comes with 15 mm spacers. If you build your own from a perforated sheet, put battens or spacers behind it so there is free space across the whole surface.
How do I stop hooks from falling out when I take a tool off?
Use hooks that match the hole exactly and have a latch. Ours have a spring tab that stops them lifting. For round-hole boards there are plastic locks that clip onto the hook; a loose hook in a big hole always ends up on the floor.
Which tools should not go on the board?
Heavy power tools, tools with an exposed unguarded edge and the ones you use once a year. The first are better on a shelf in the middle band; edged tools with their guard on or in a closed holder; rarely used ones in a labelled box.
What is a shadow board?
It is a board where each tool has its outline marked, so the empty spot shows what is missing and where it goes. The technique comes from factories. At home it is enough to trace, with a thick marker, the outline of whatever goes missing most often.